Notification-Emails
- Login to the admin panel of your scheduler.
- Click Configuration in the navigation bar.
- Click General Settings in the subnavigation bar.
- Click Email Settings in the left hand side navigation.
- Change the administrator's email address.
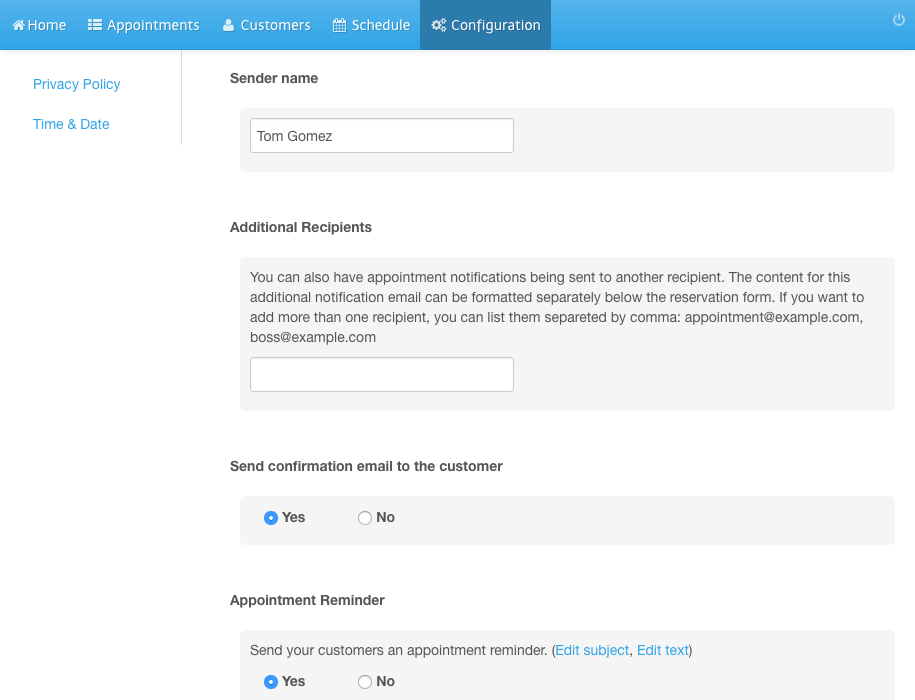
- Enter a sender name.
- Enter additional recipients, in case you need any, separated by comma.
- Select whether you want to send a notification email to the customer.
Screenshots
Login to the admin panel of your scheduler
1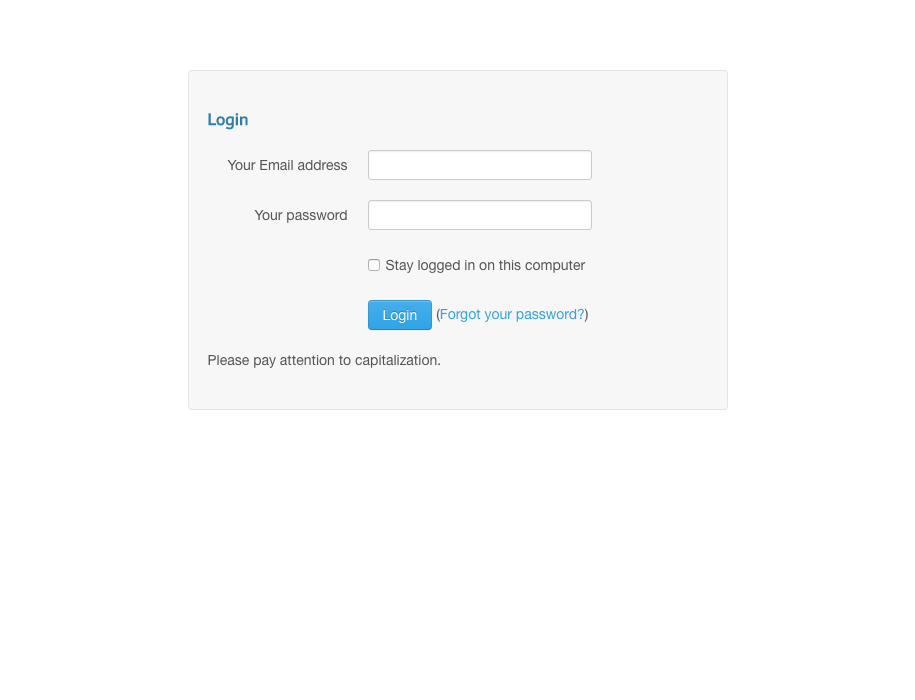
Click Configuration in the navigation bar
2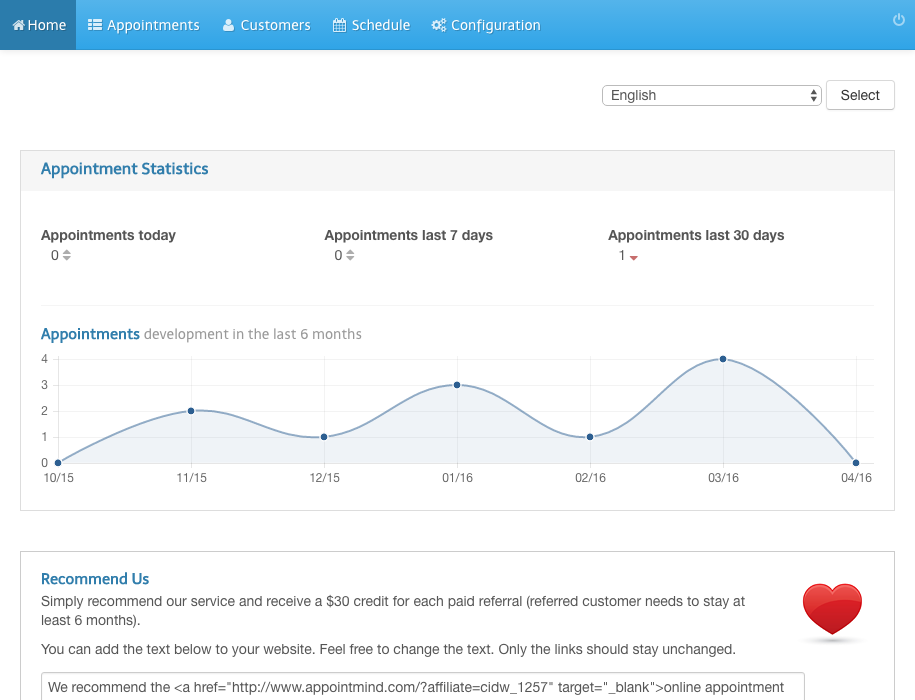
Click General Settings in the subnavigation bar
3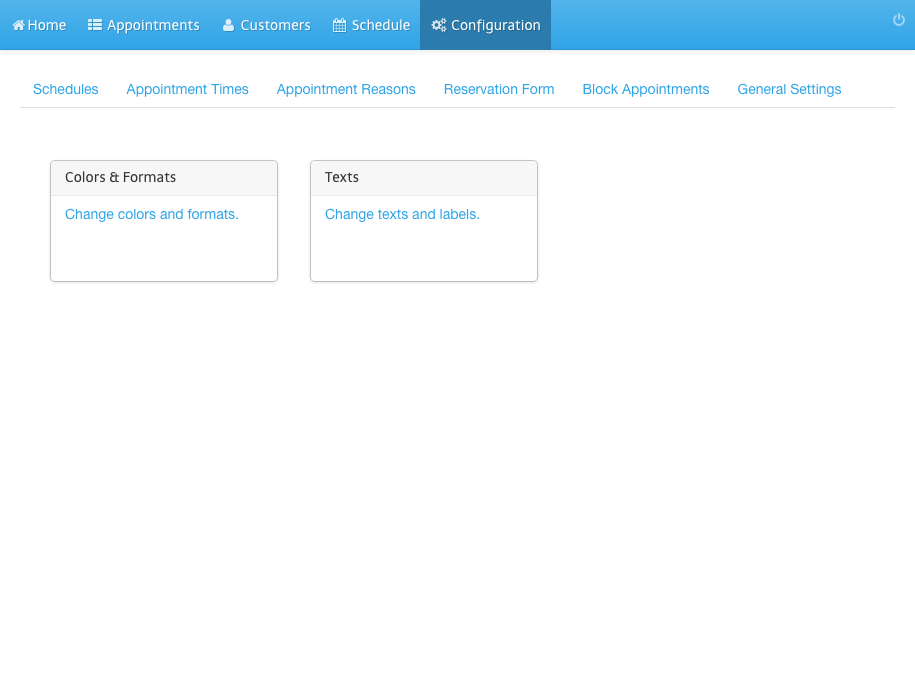
Click Email Settings in the left hand side navigation
4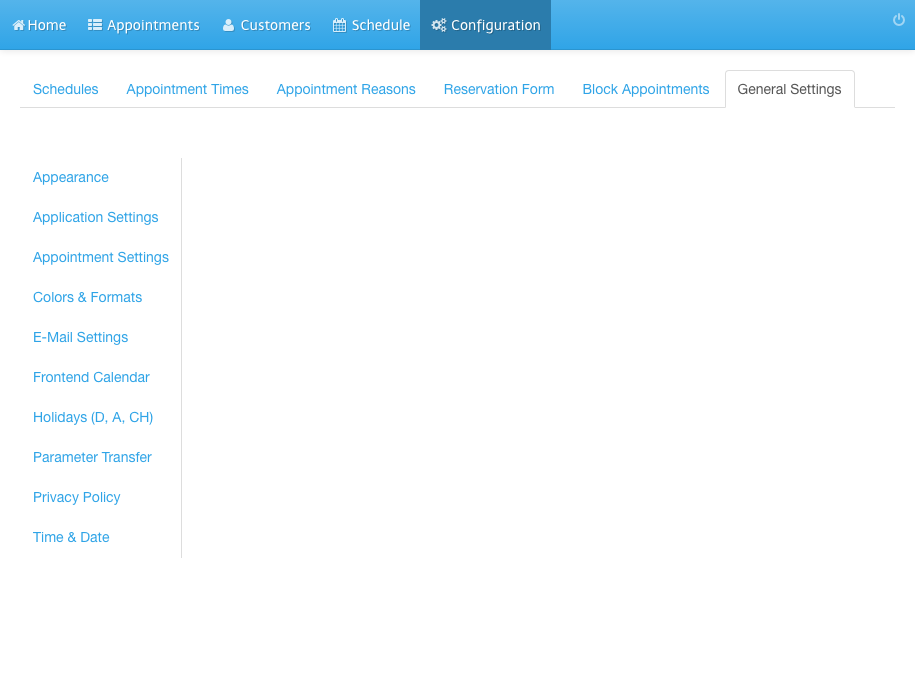
Change the administrator's email address
5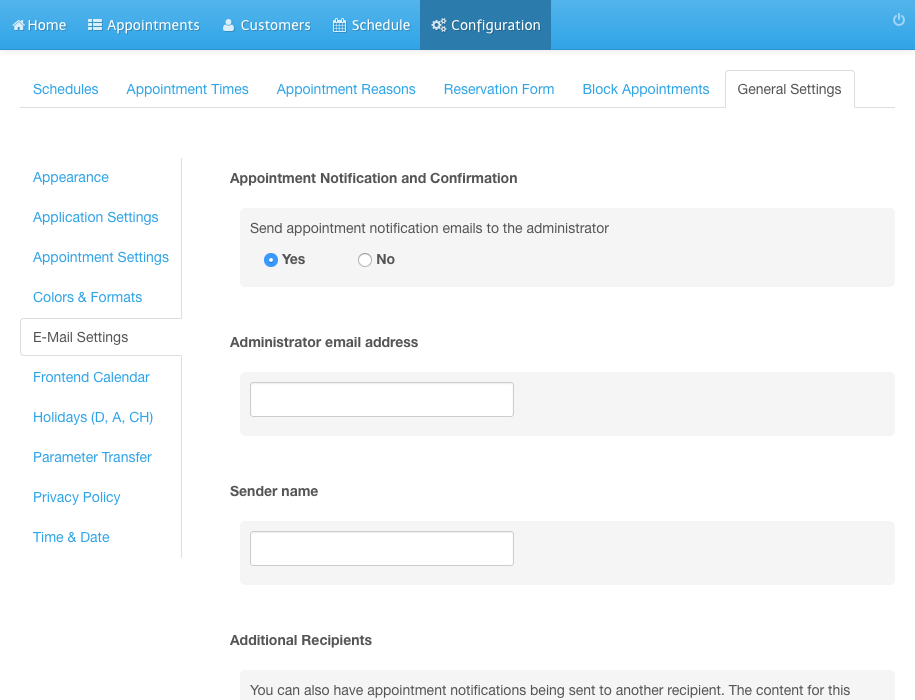
Enter a sender name
6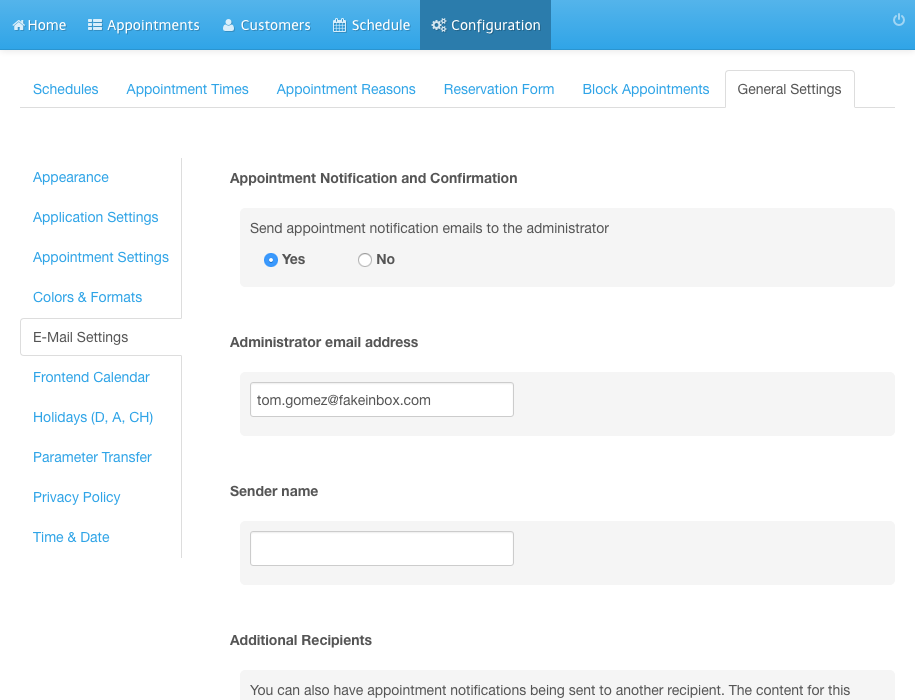
Enter additional recipients, in case you need any, separated by comma
7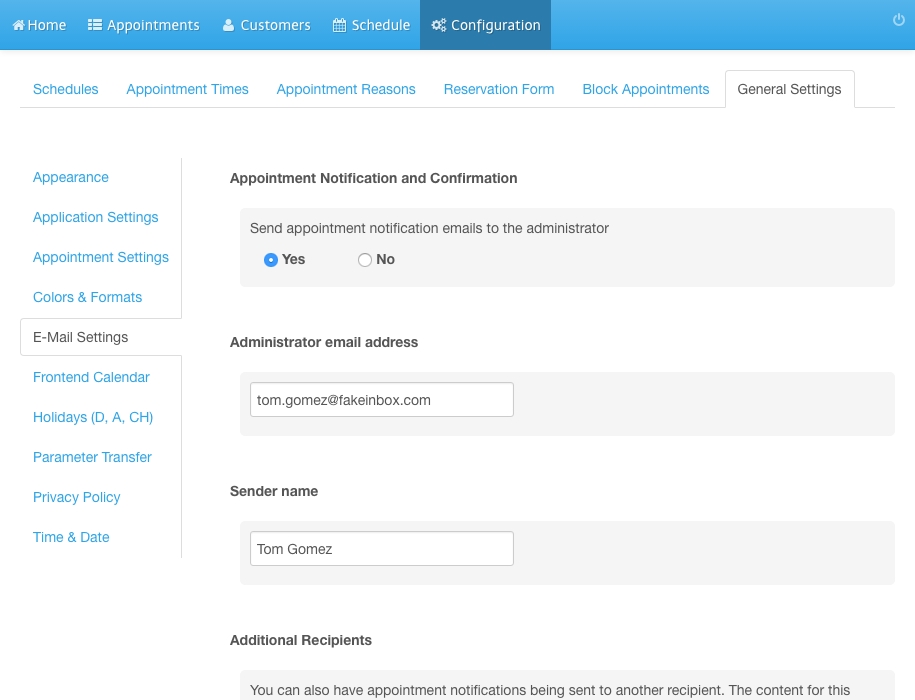
Select whether you want to send a notification email to the customer
8