Change Text and Labels
- Login to the admin panel of your scheduler.
- Click Configuration in the navigation bar.
- Click Texts (Change texts and labels).
- Enter Appointments as Search Query and click Search.
- Click Edit in the result list.
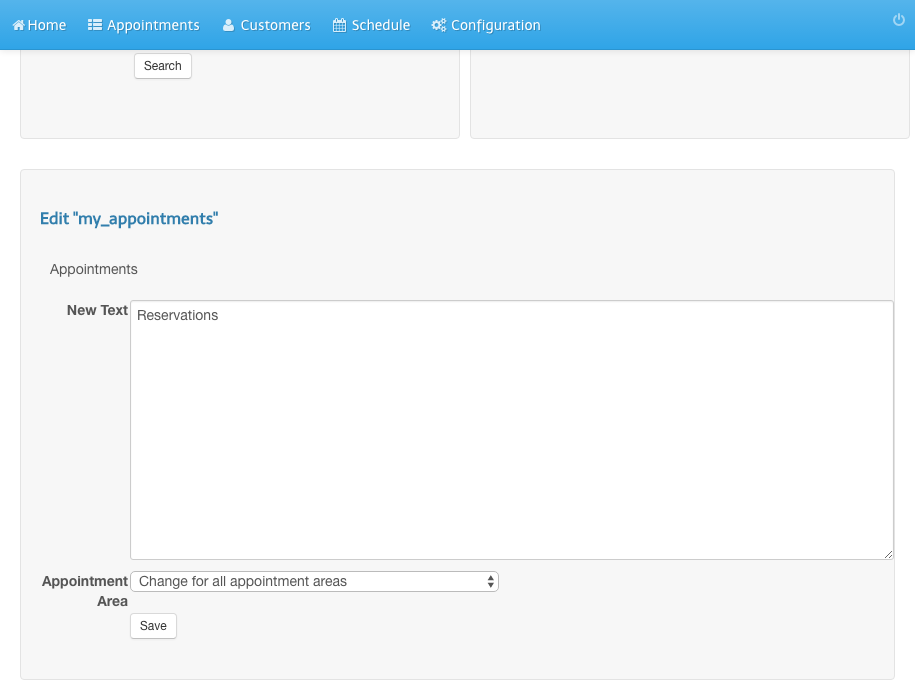
- Change Appointments in Reservations.
- Click Save.
- You will see a success message.
- Refresh the user calendar view in order to see the change.
Screenshots
Login to the admin panel of your scheduler
1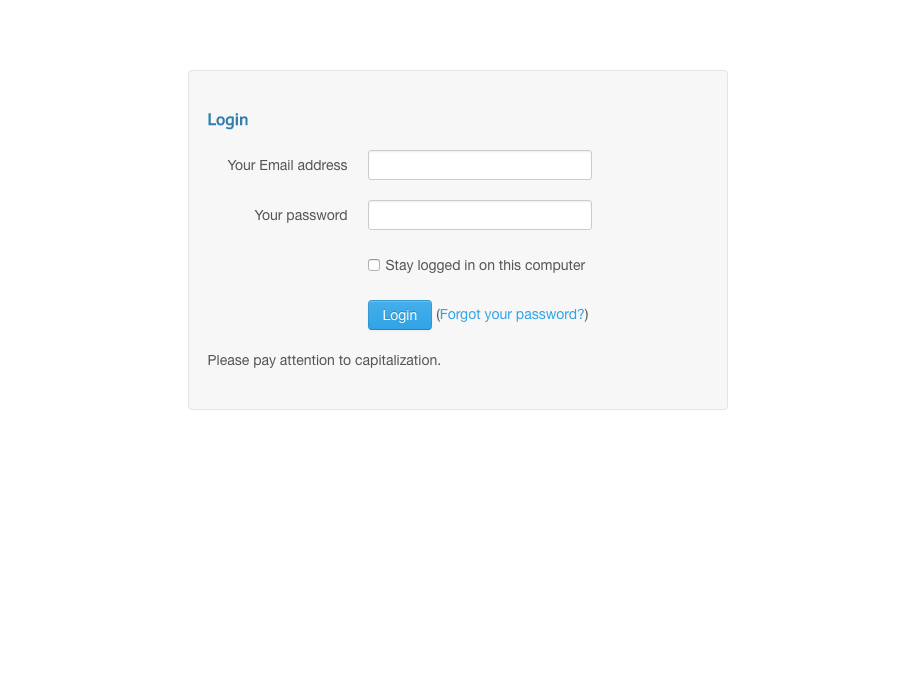
Click Configuration in the navigation bar
2
Click Texts (Change texts and labels)
3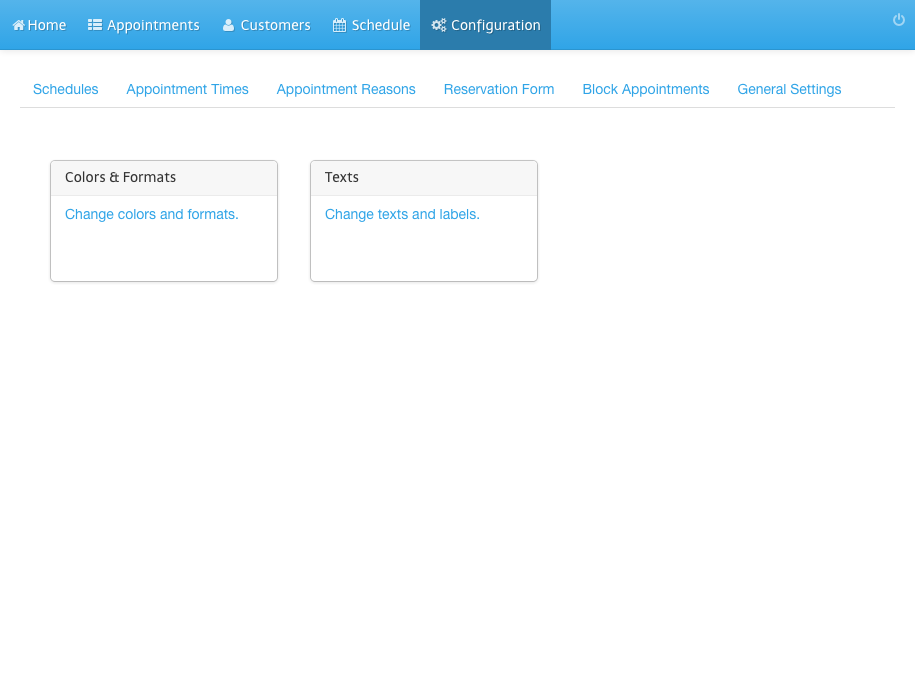
Enter Appointments as Search Query and click Search
4
Click Edit in the result list
5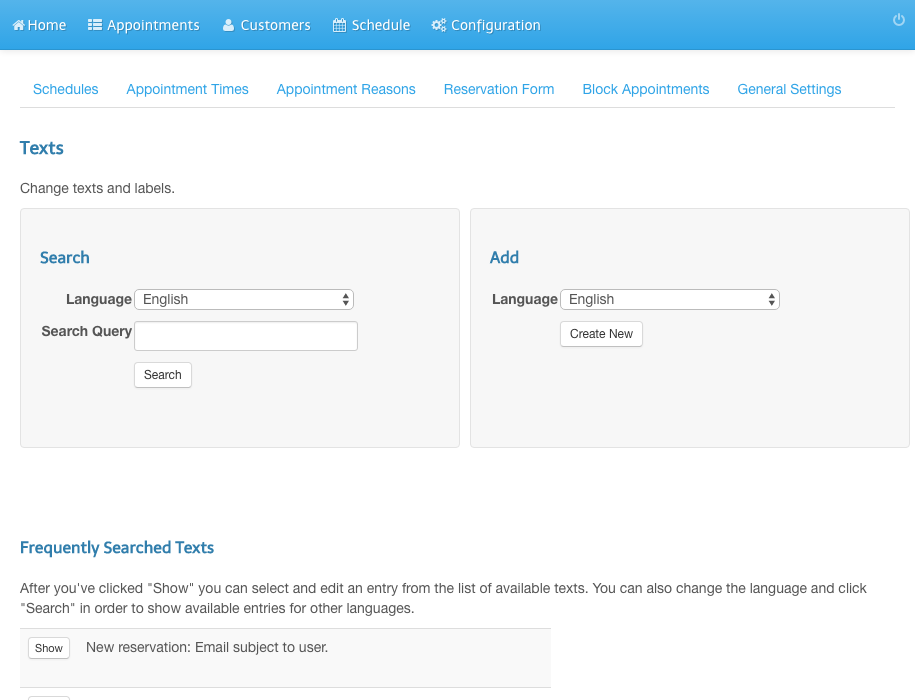
Change Appointments in Reservations
6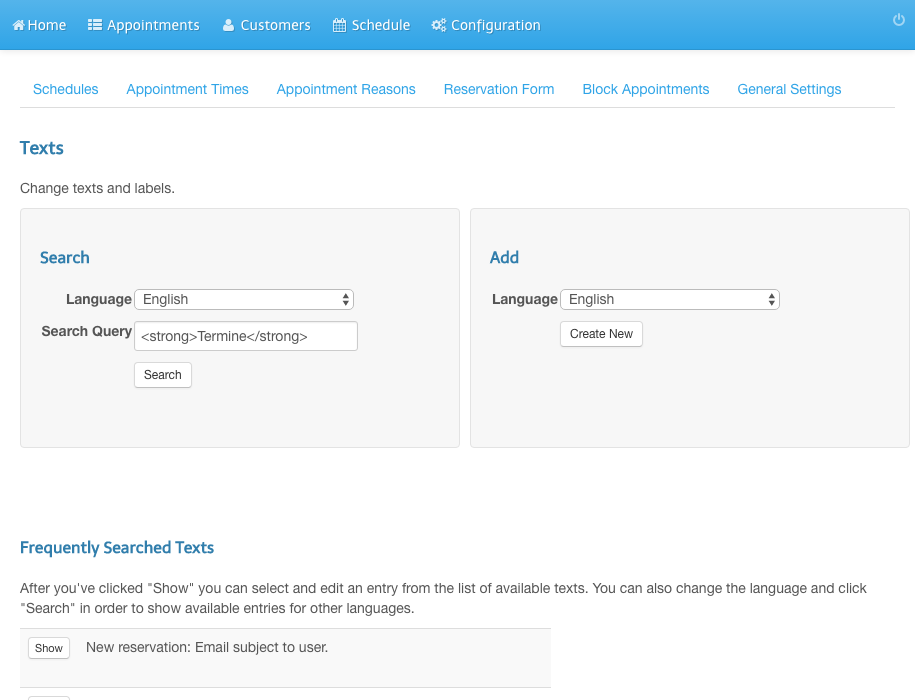
Click Save
7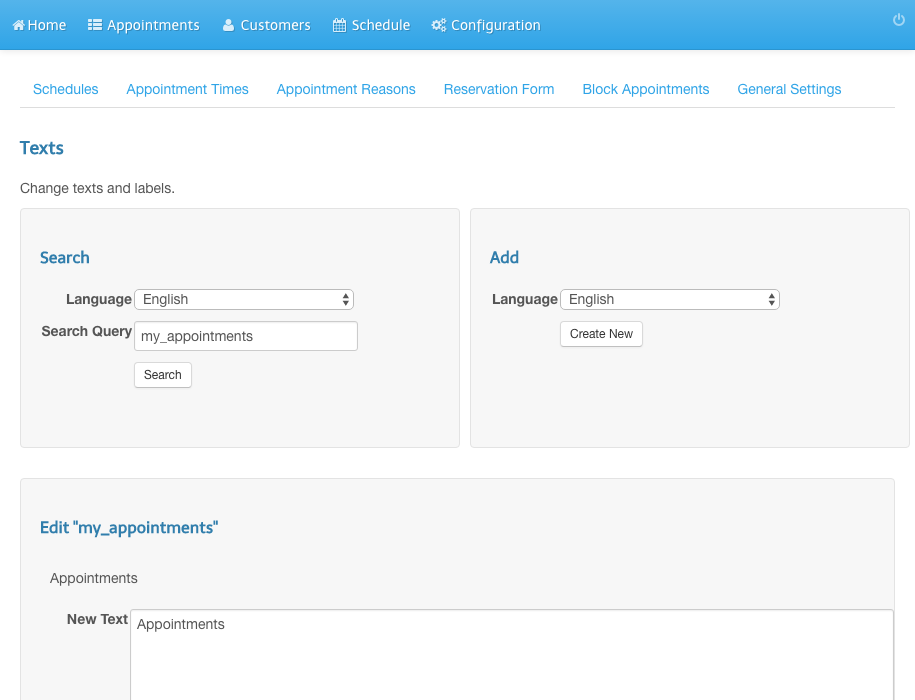
You will see a success message
8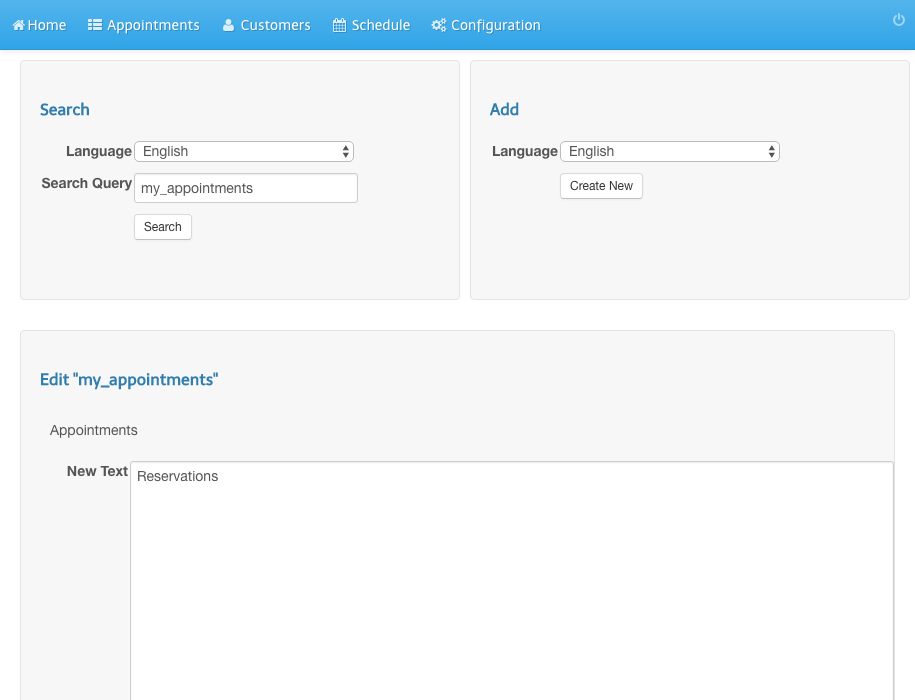
Refresh the user calendar view in order to see the change
9