Attach Documents to Calendar Emails
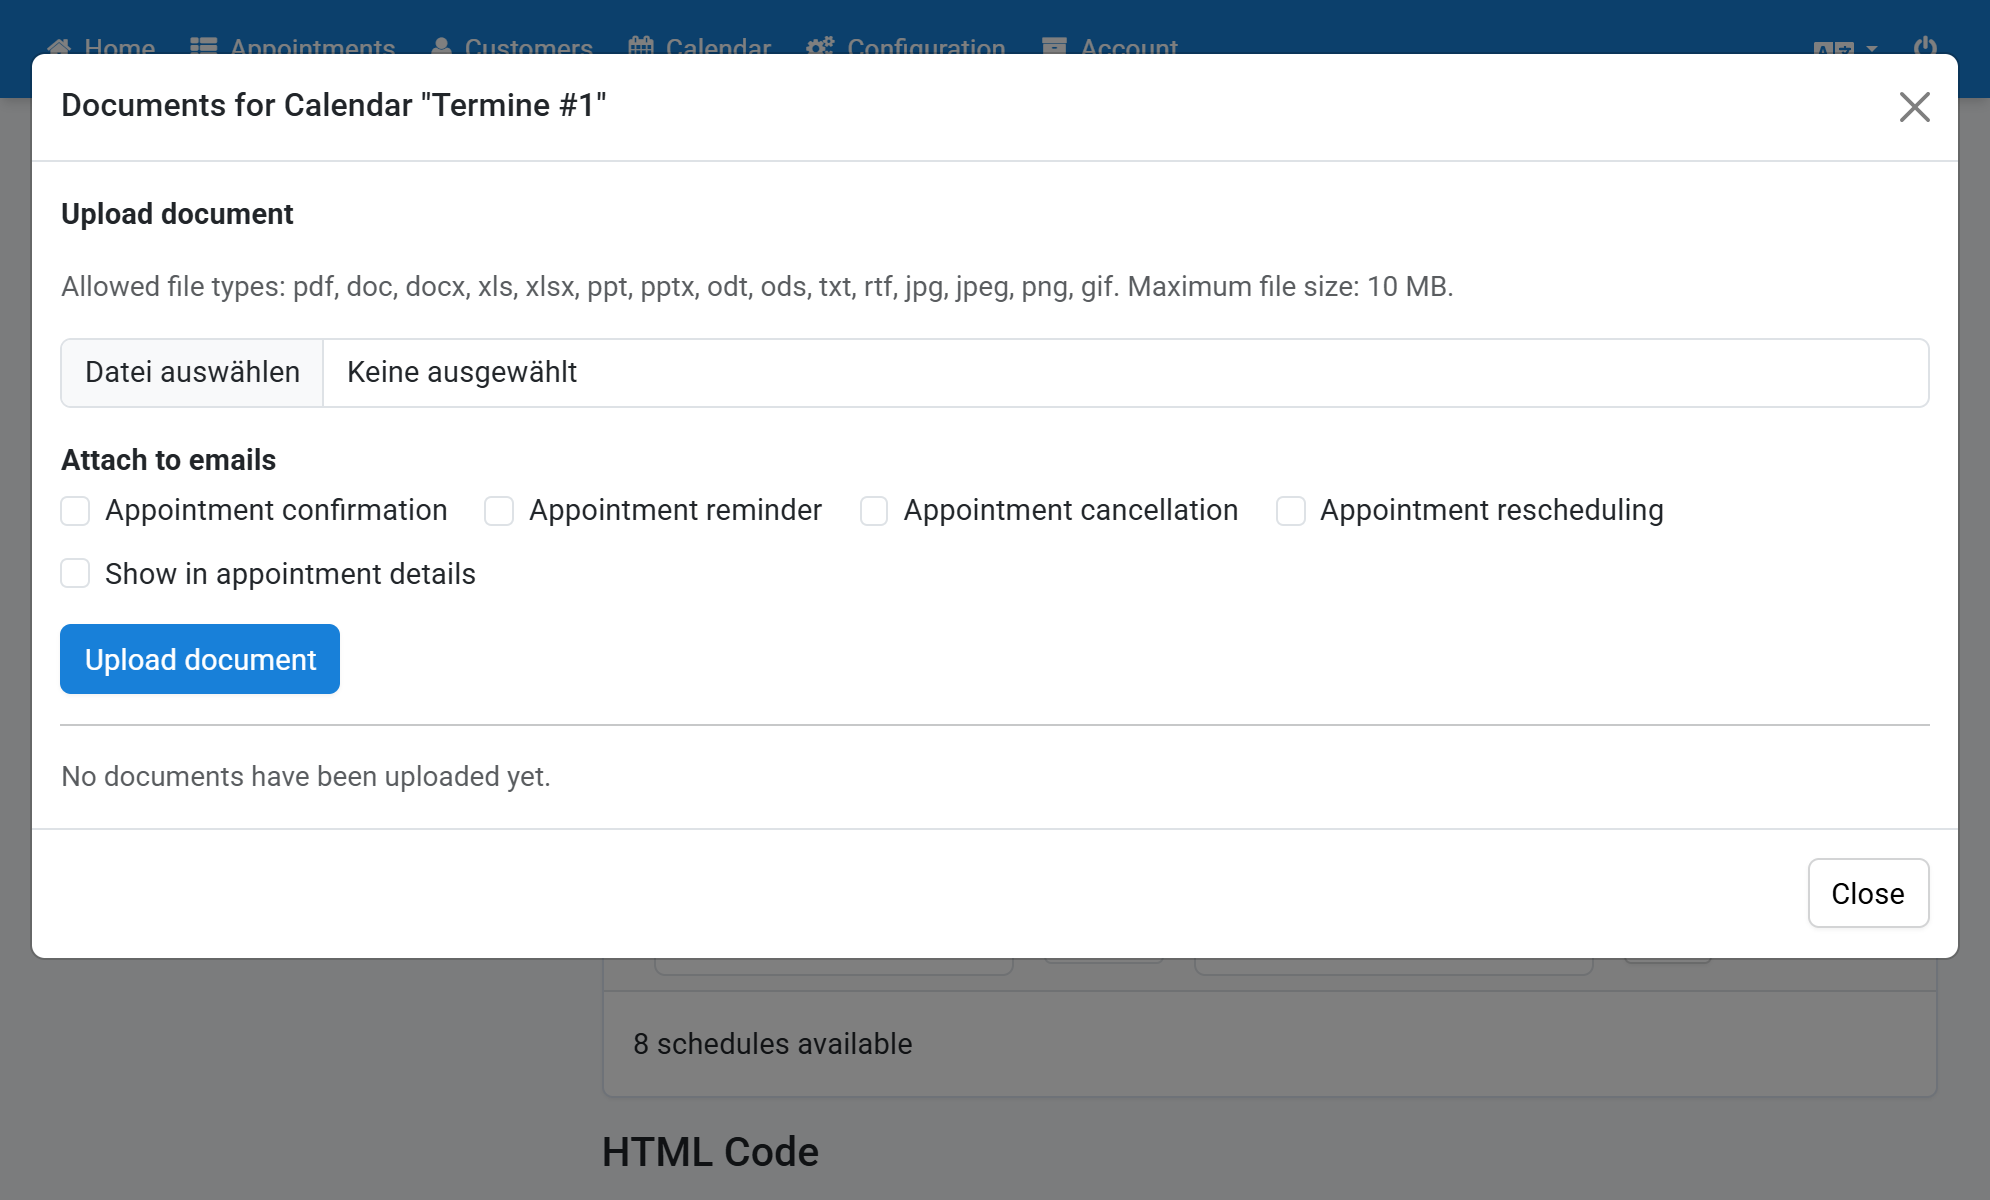
For every appointment calendar you can store documents that are attached automatically to the appointment confirmation, reminder, cancellation or rescheduling email. You can also decide whether your customers can download a document in the appointment details.
- Click Configuration in the navigation bar.
- Click Appointment Calendar in the subnavigation bar.
- Click the paper clip icon next to the calendar you want.
- Click Choose File and select a document (for example a PDF, 10 MB at most).
- Define to which emails the document is attached and whether customers can download it in the appointment details. Then click Upload document.
- The document appears in the list. You can change the options there at any time, changes are saved immediately.
- You can download the document via the file name.
- Click the trash icon to delete a document and confirm the security prompt.
- The document has been removed and is no longer attached to emails.
Screenshots
Click Configuration in the navigation bar
1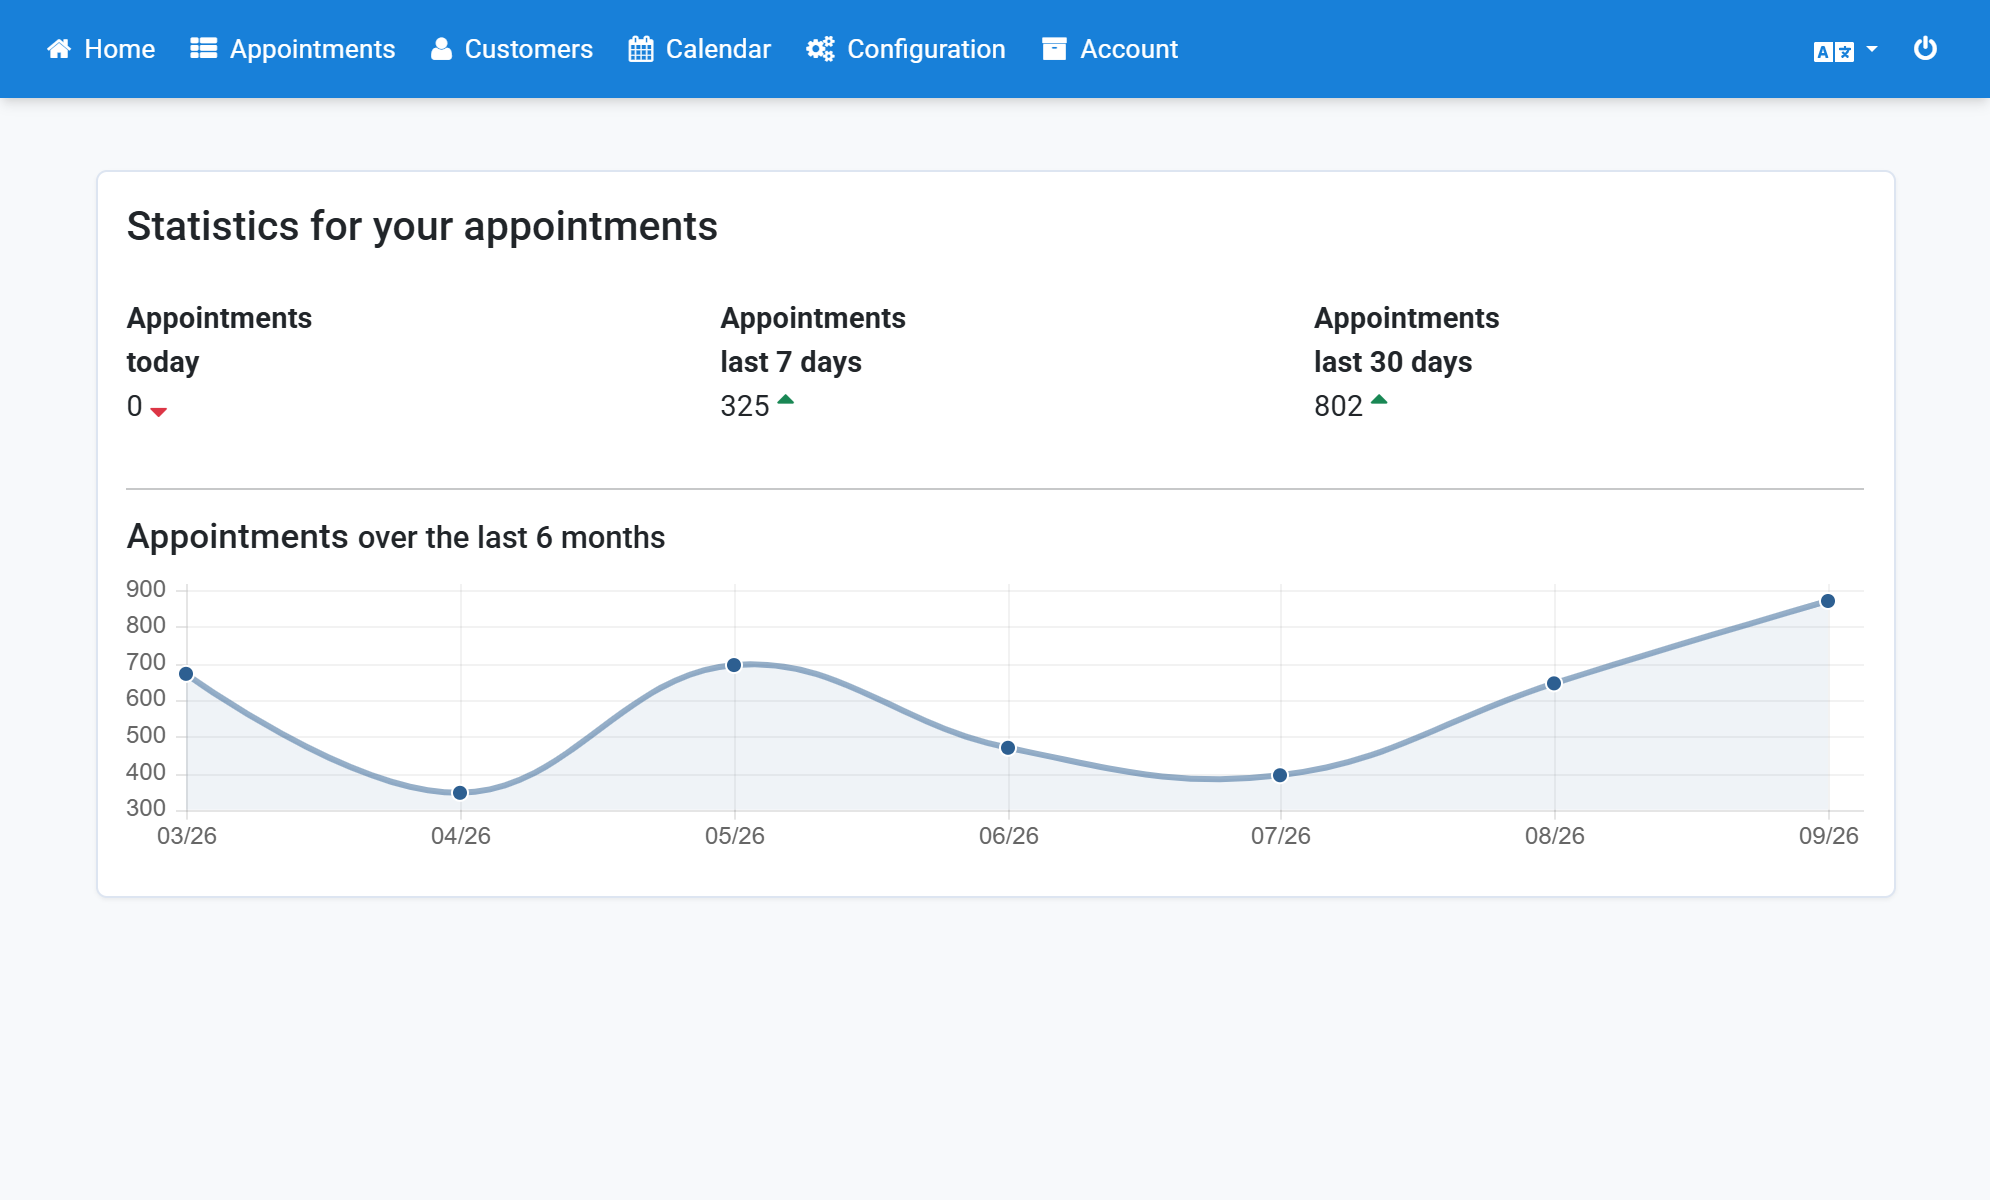
Click Appointment Calendar in the subnavigation bar
2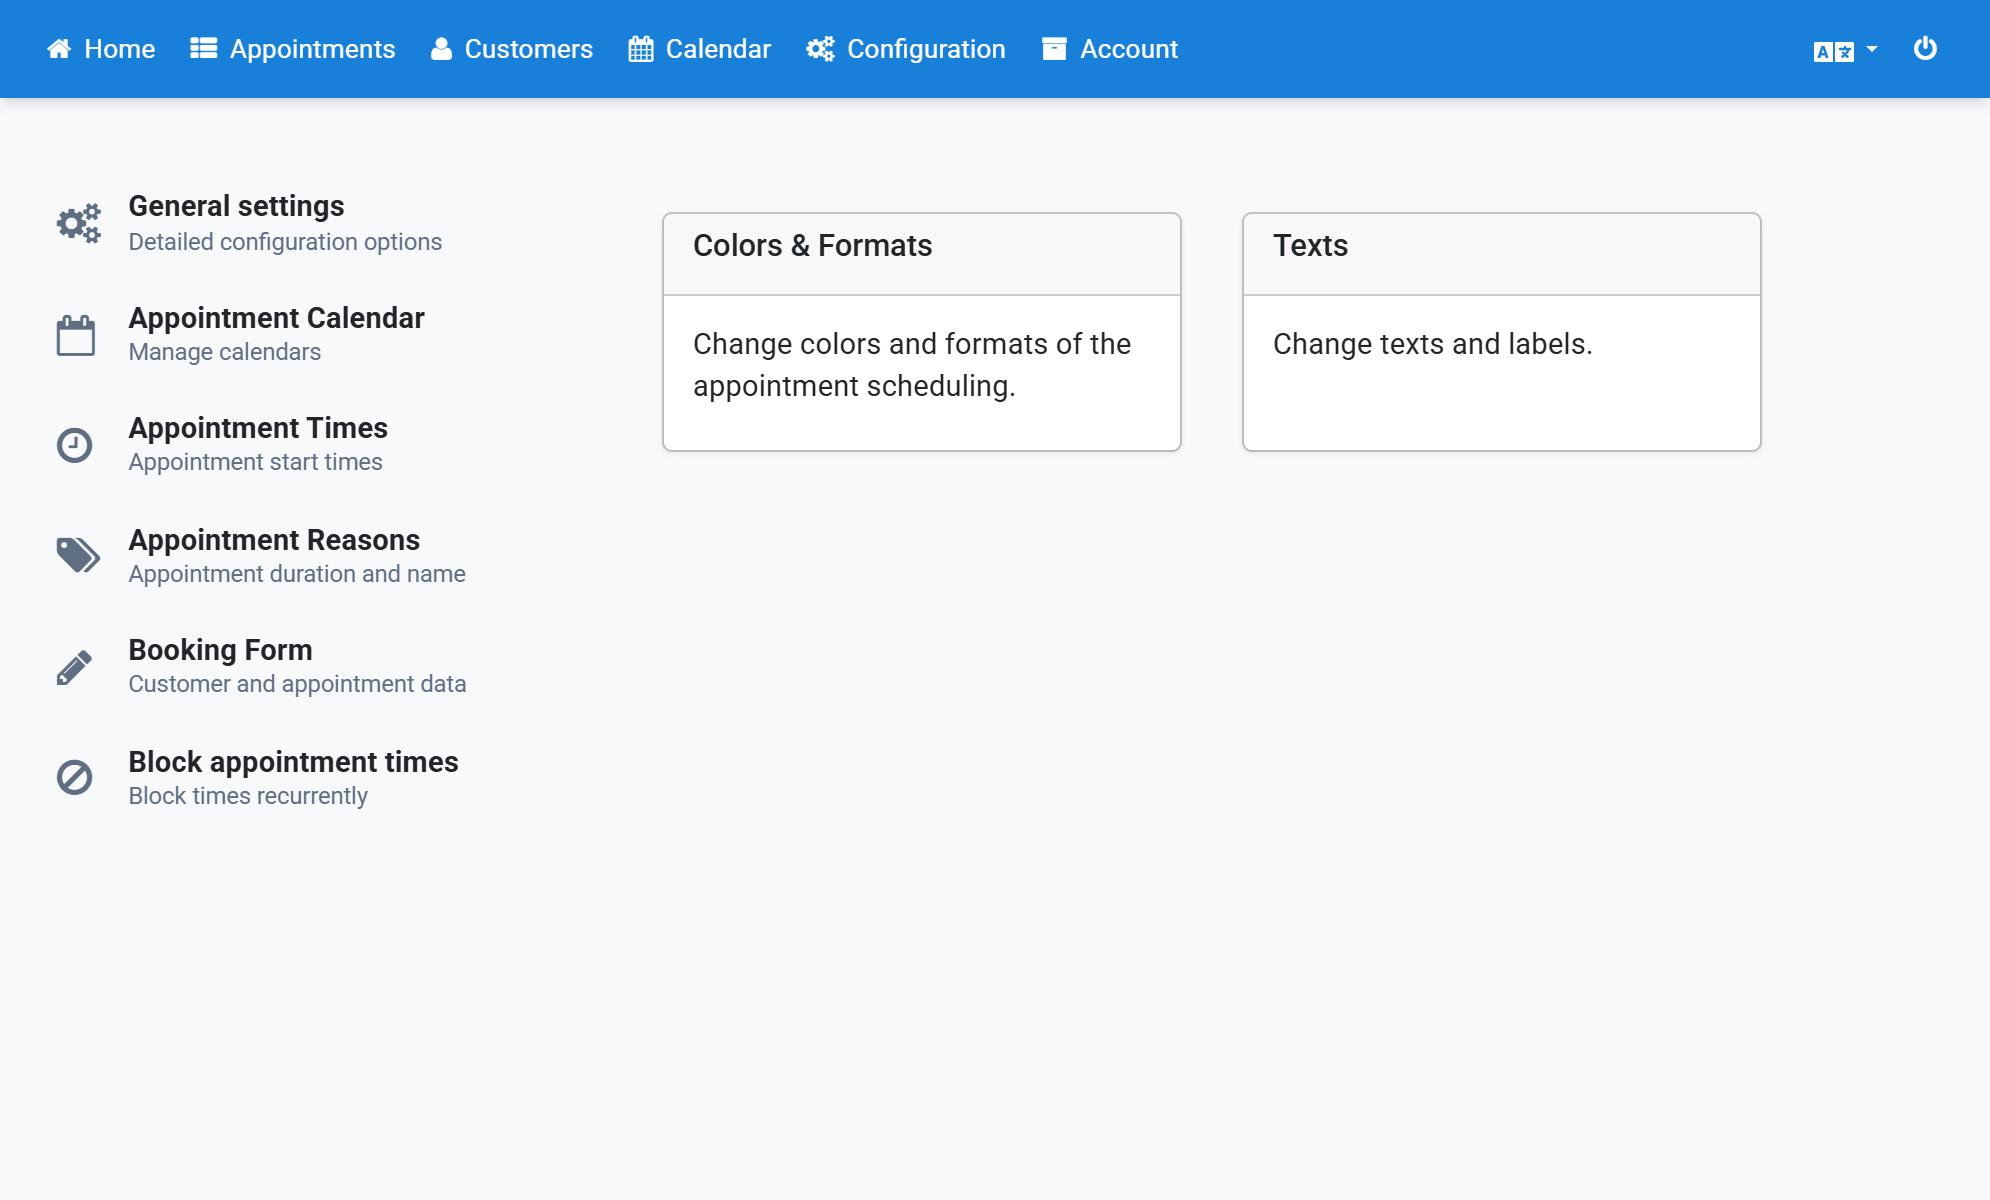
Click the paper clip icon next to the calendar you want
3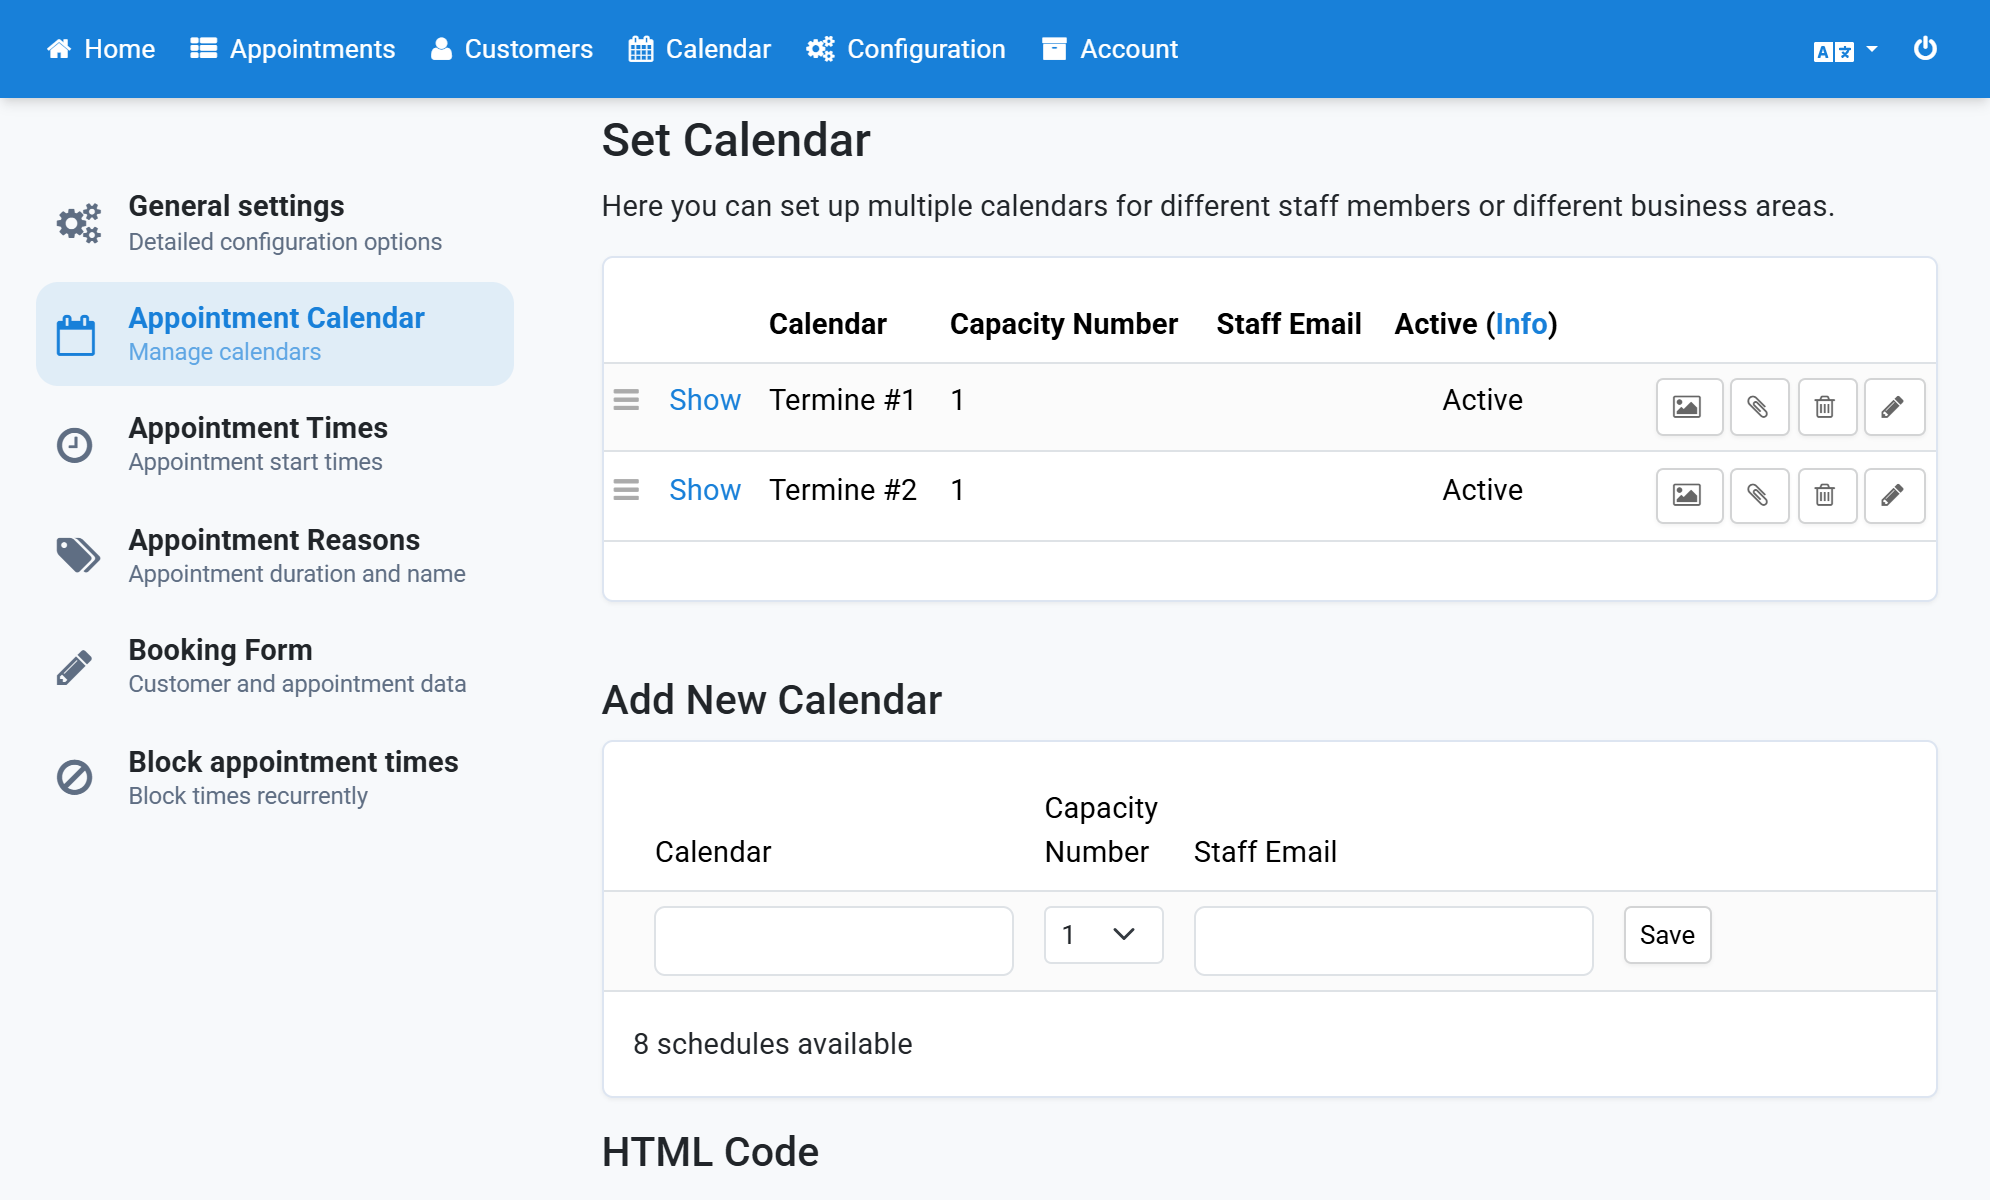
Click Choose File and select a document (for example a PDF, 10 MB at most)
4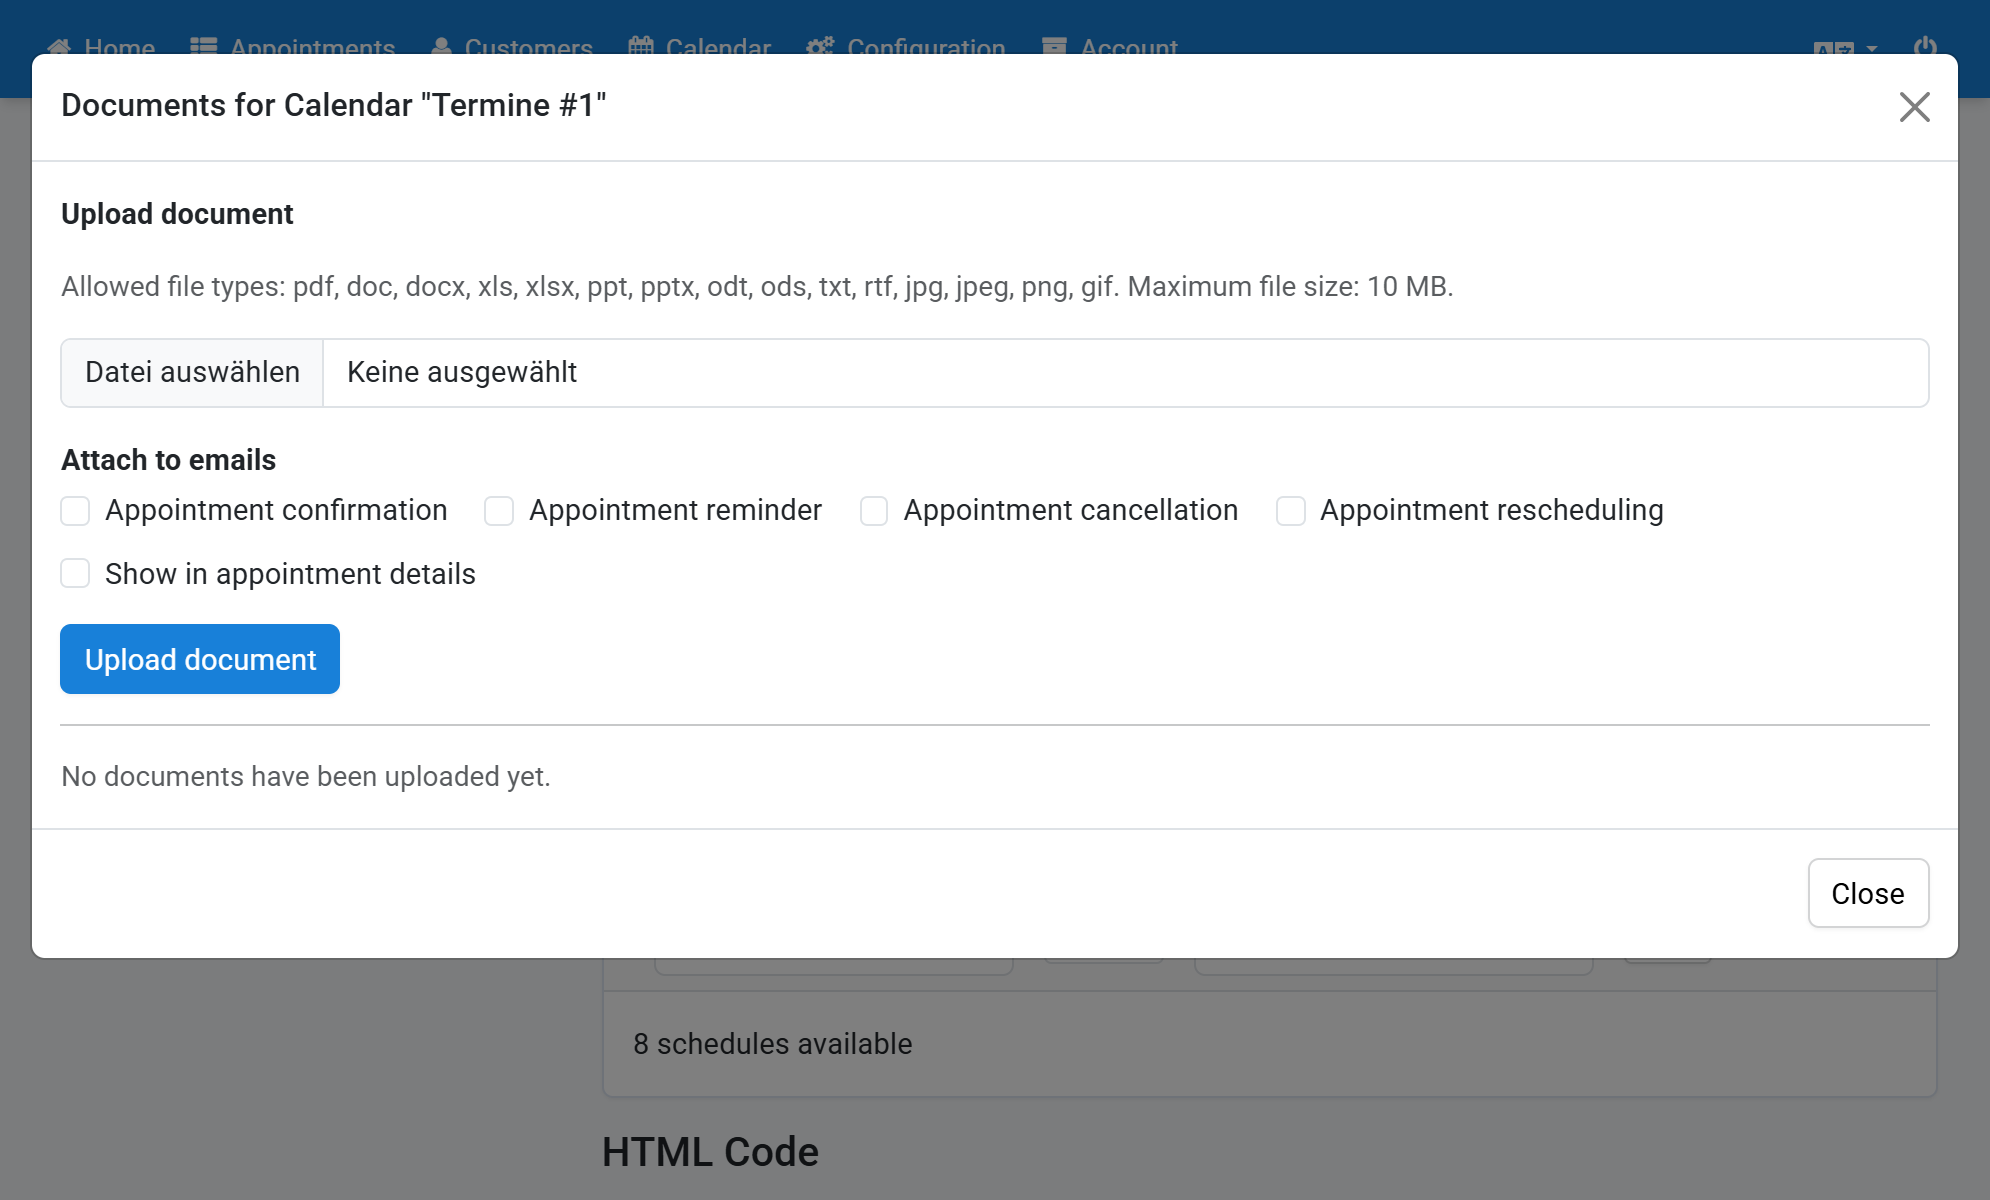
Define to which emails the document is attached and whether customers can download it in the appointment details. Then click Upload document
5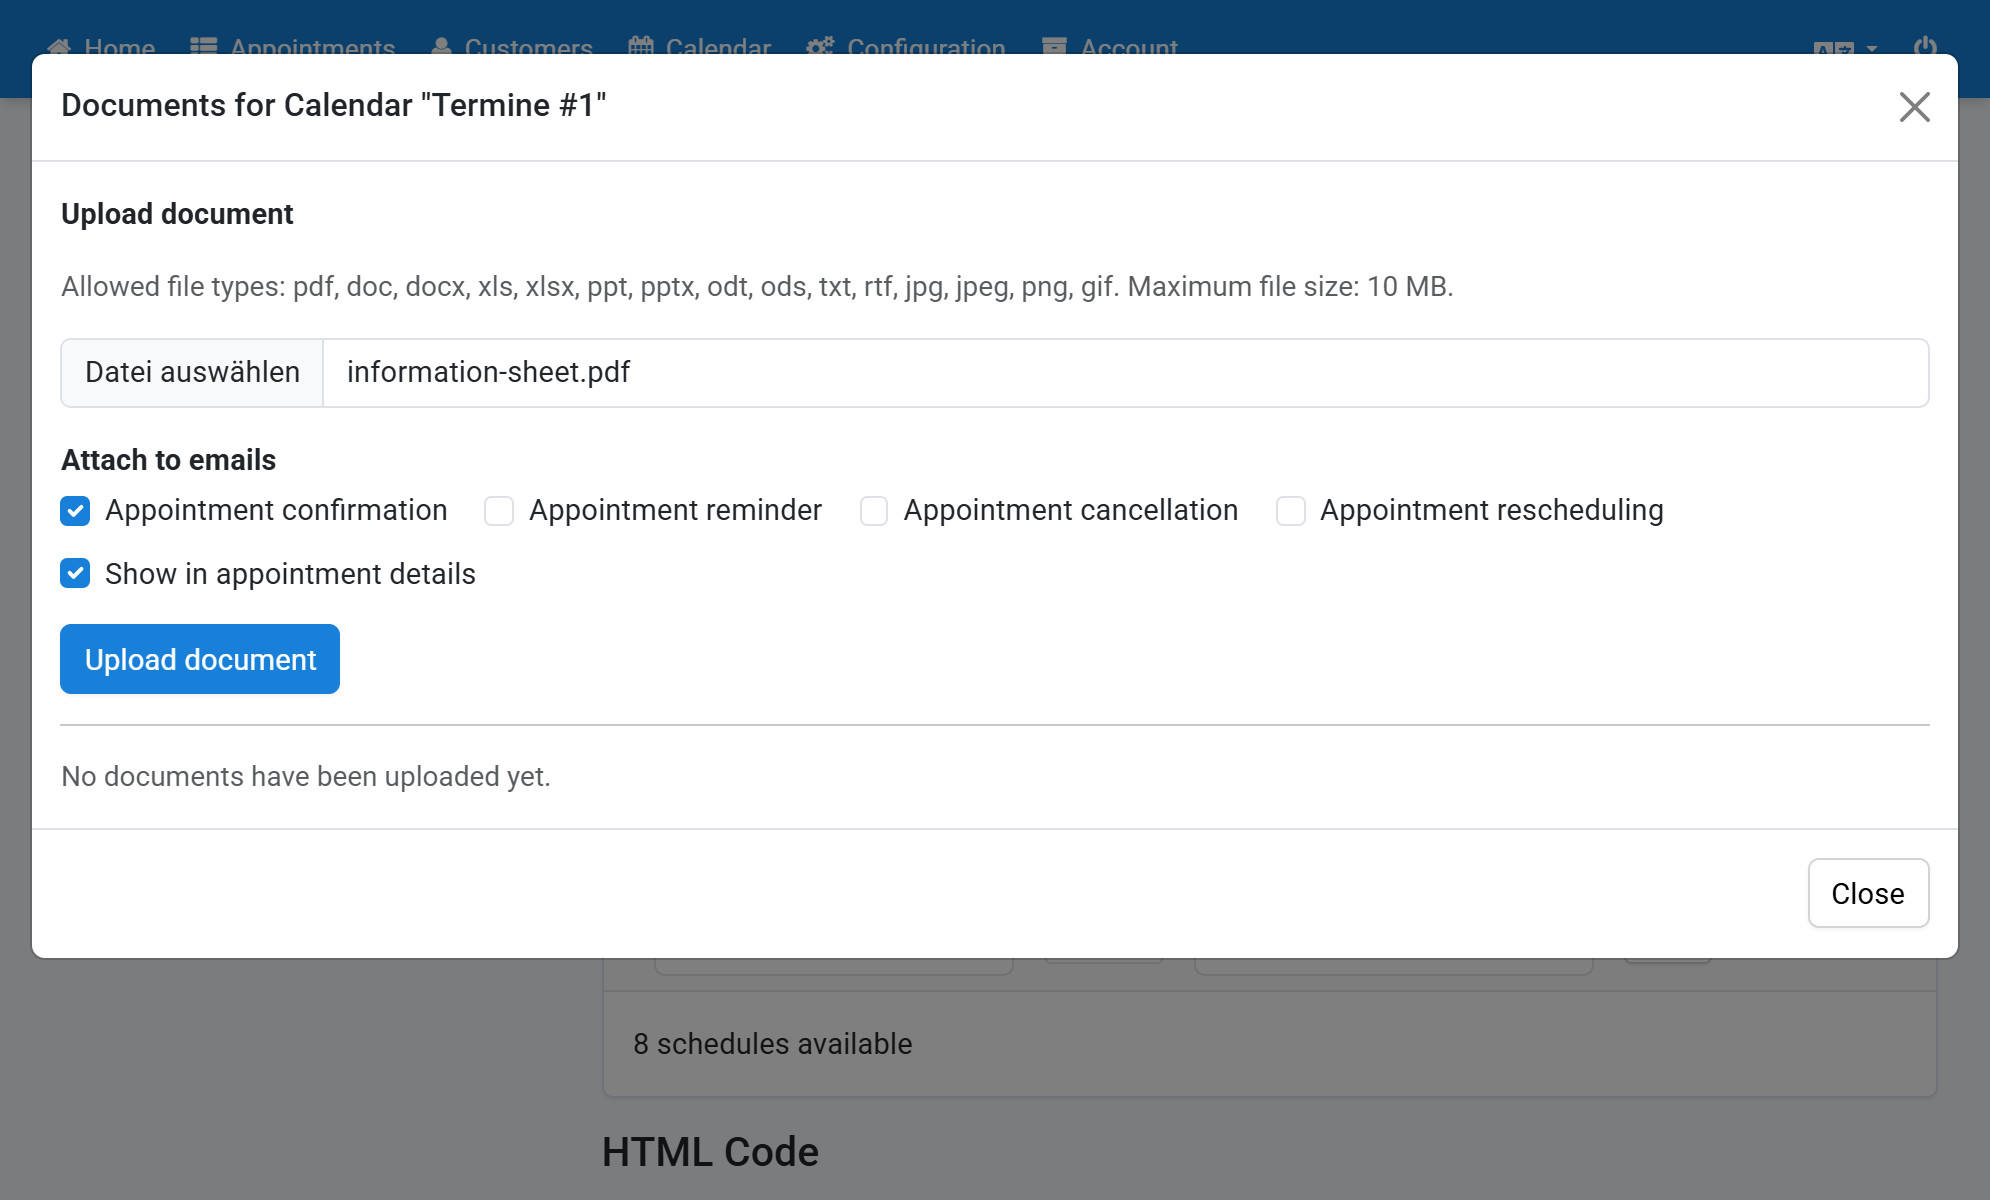
The document appears in the list. You can change the options there at any time, changes are saved immediately
6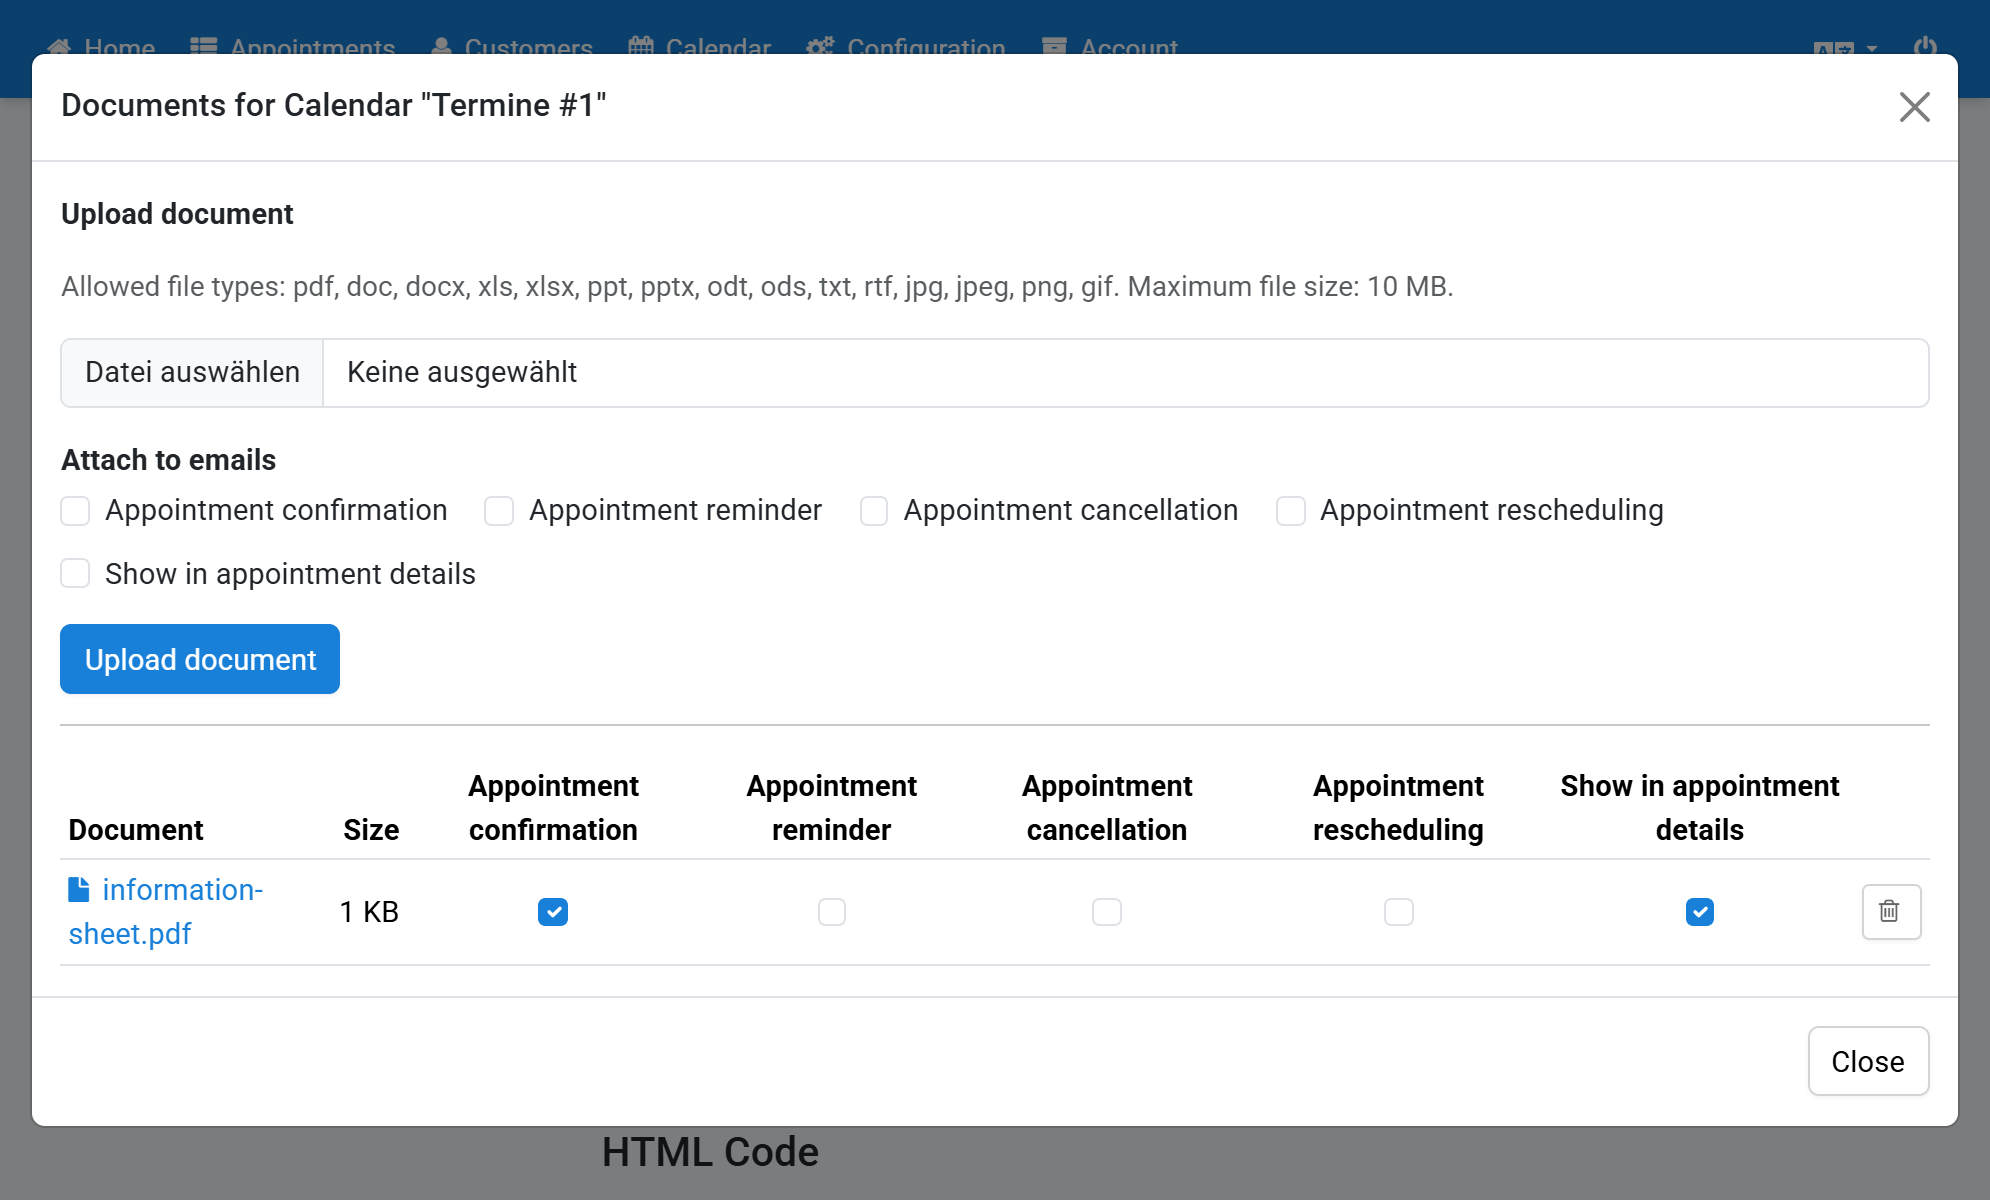
You can download the document via the file name
7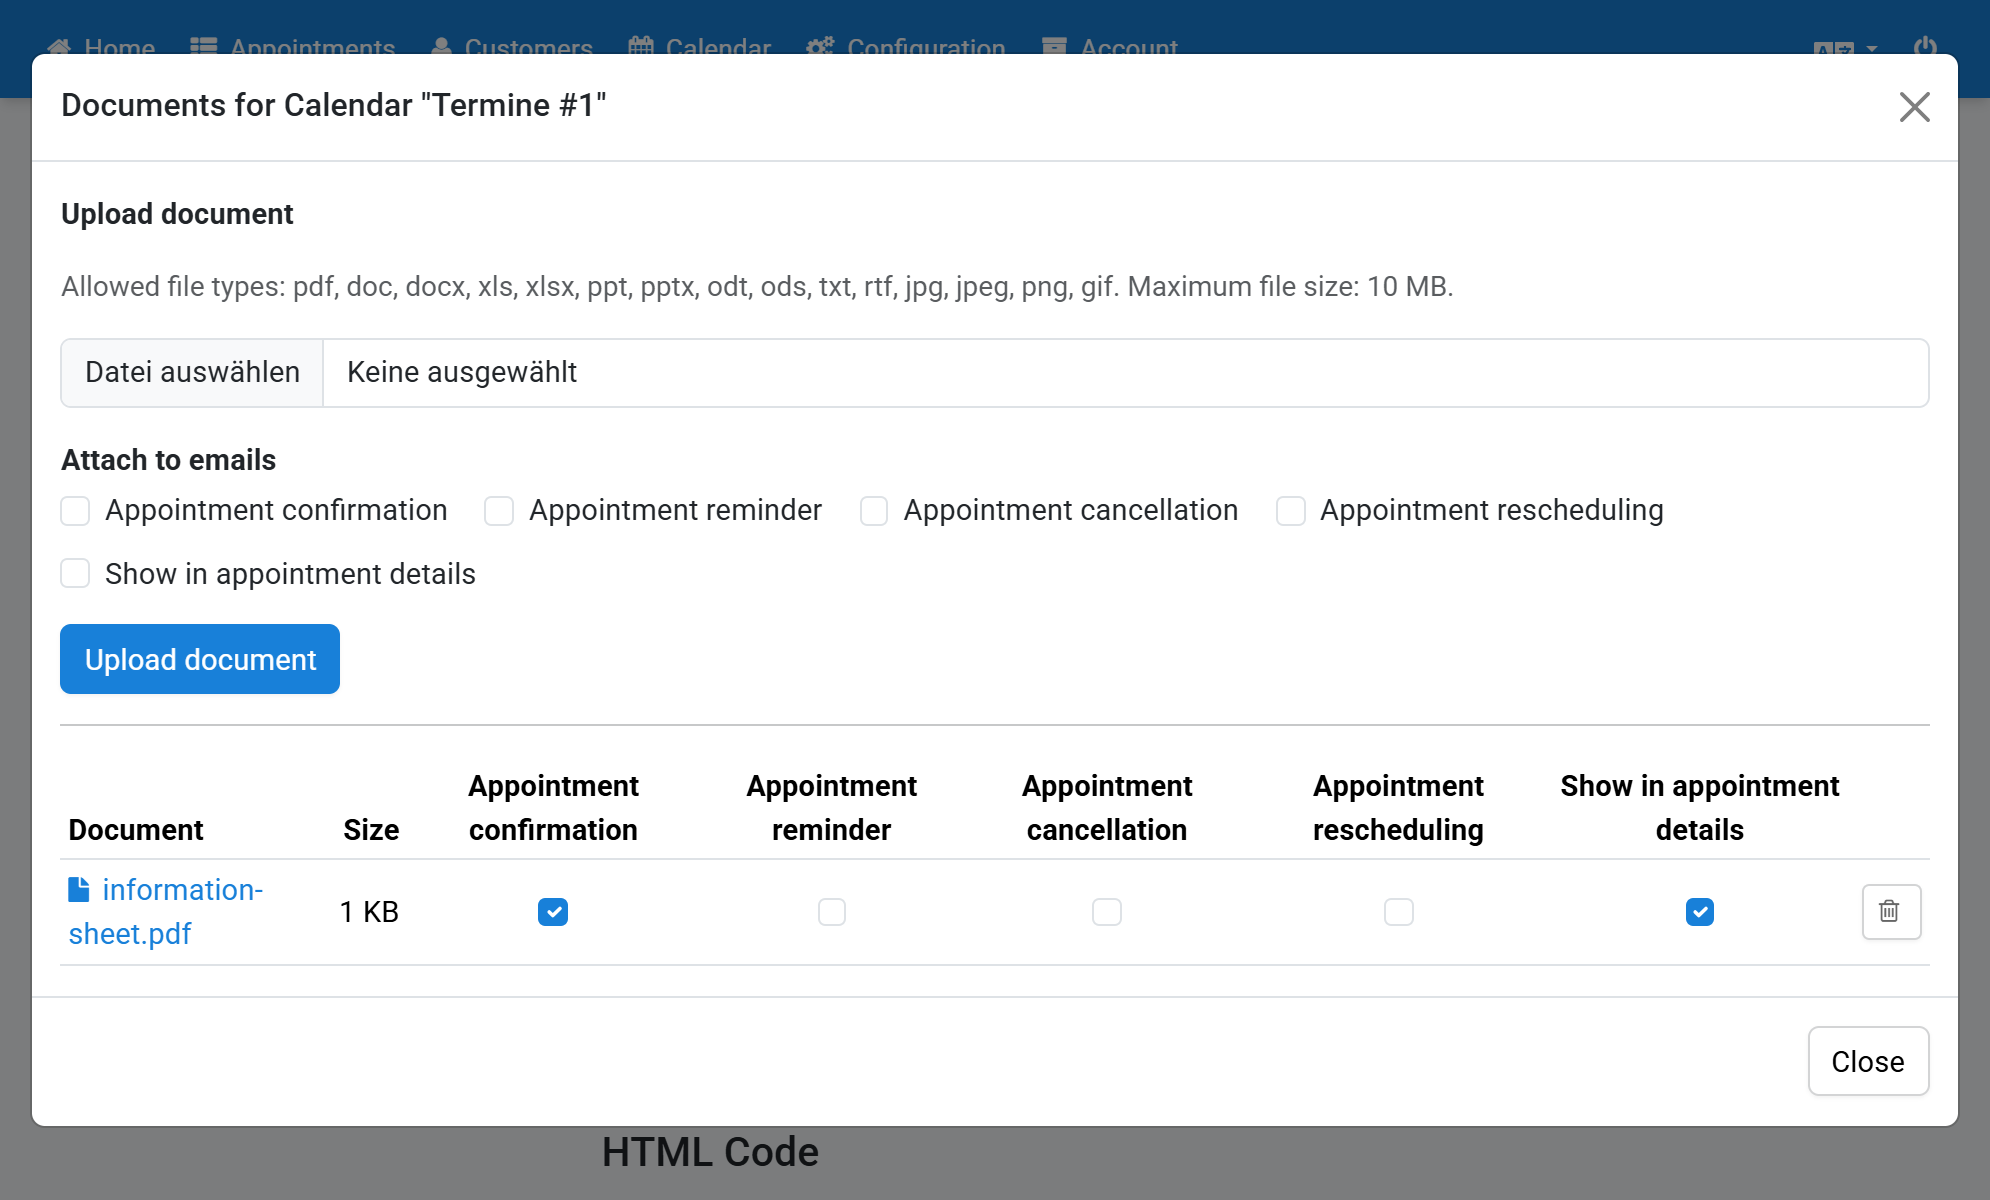
Click the trash icon to delete a document and confirm the security prompt
8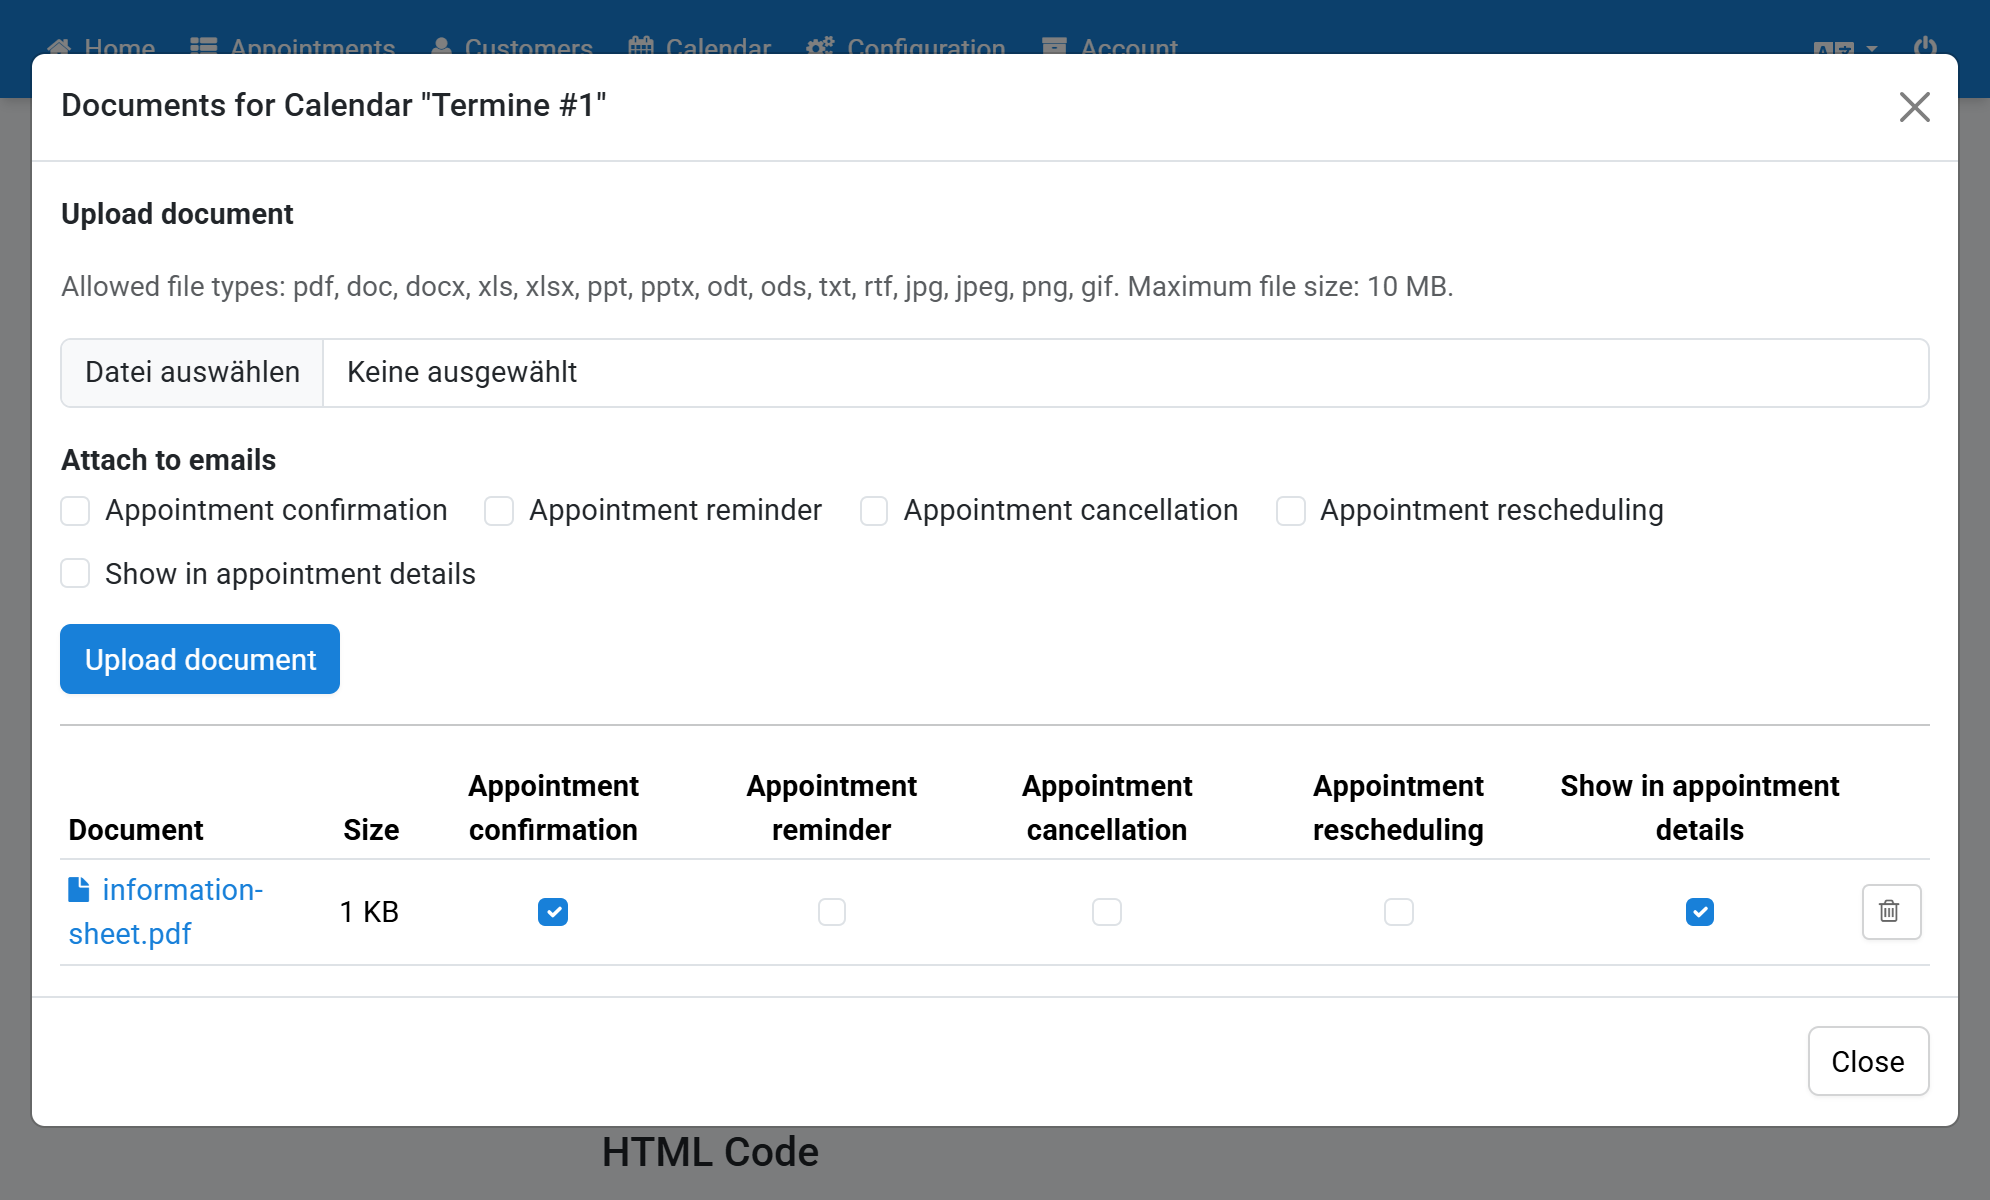
The document has been removed and is no longer attached to emails
9